
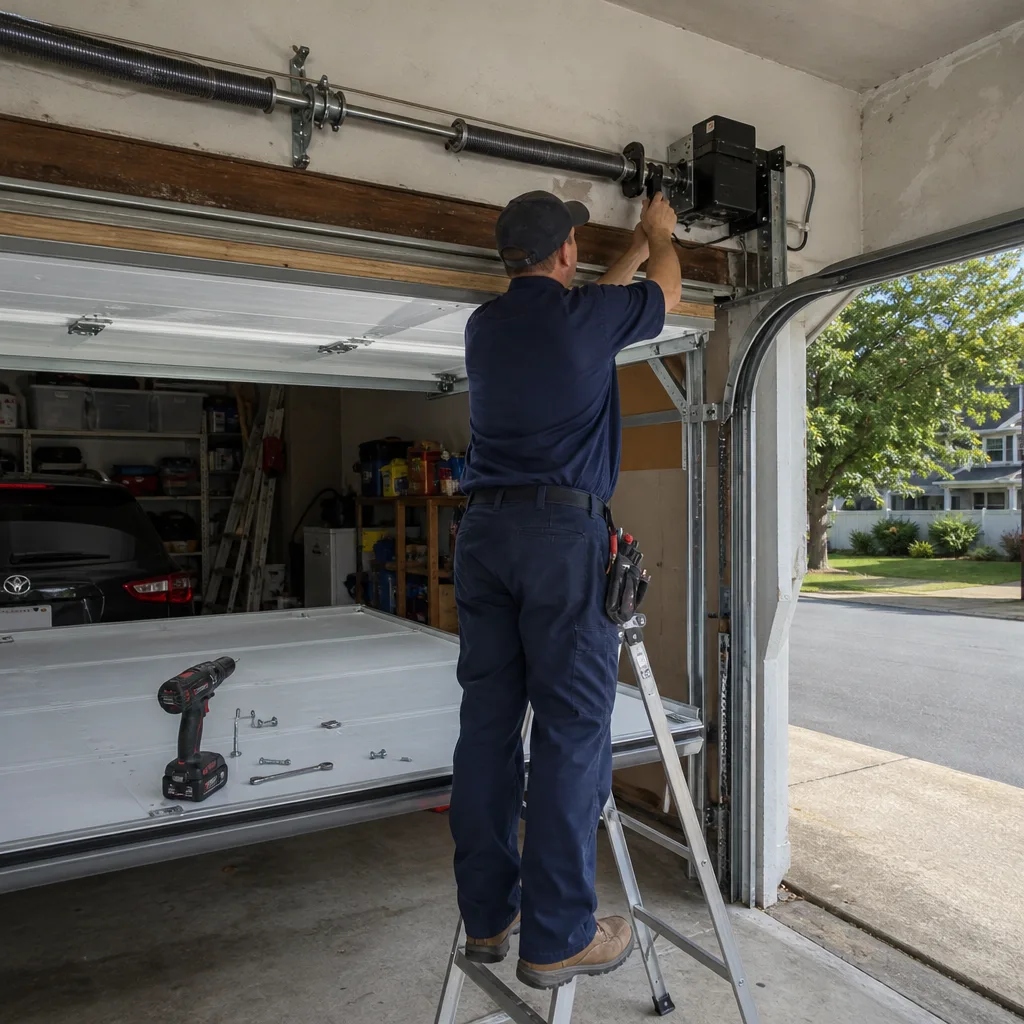
Last updated November 20, 2026
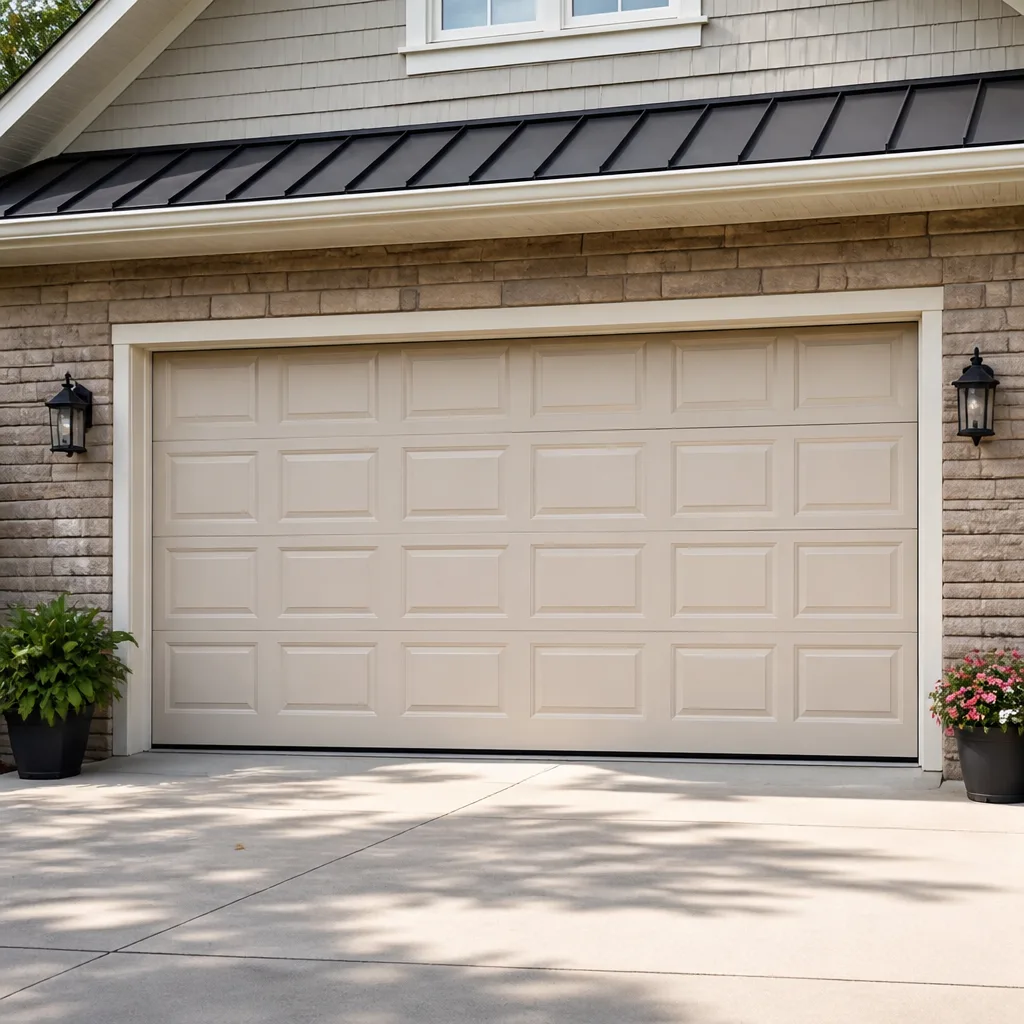 Raised-panel steel
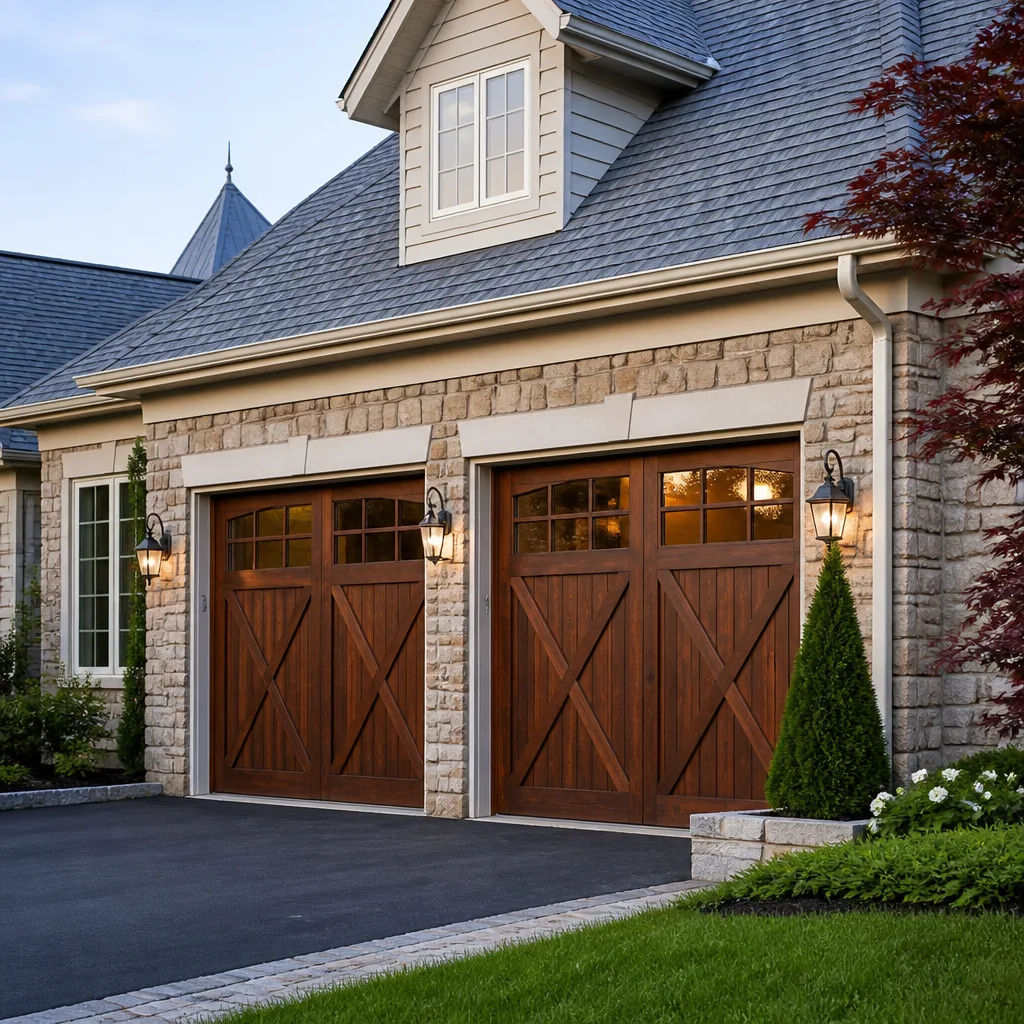 Carriage house
 Modern flush
 Full-view glass
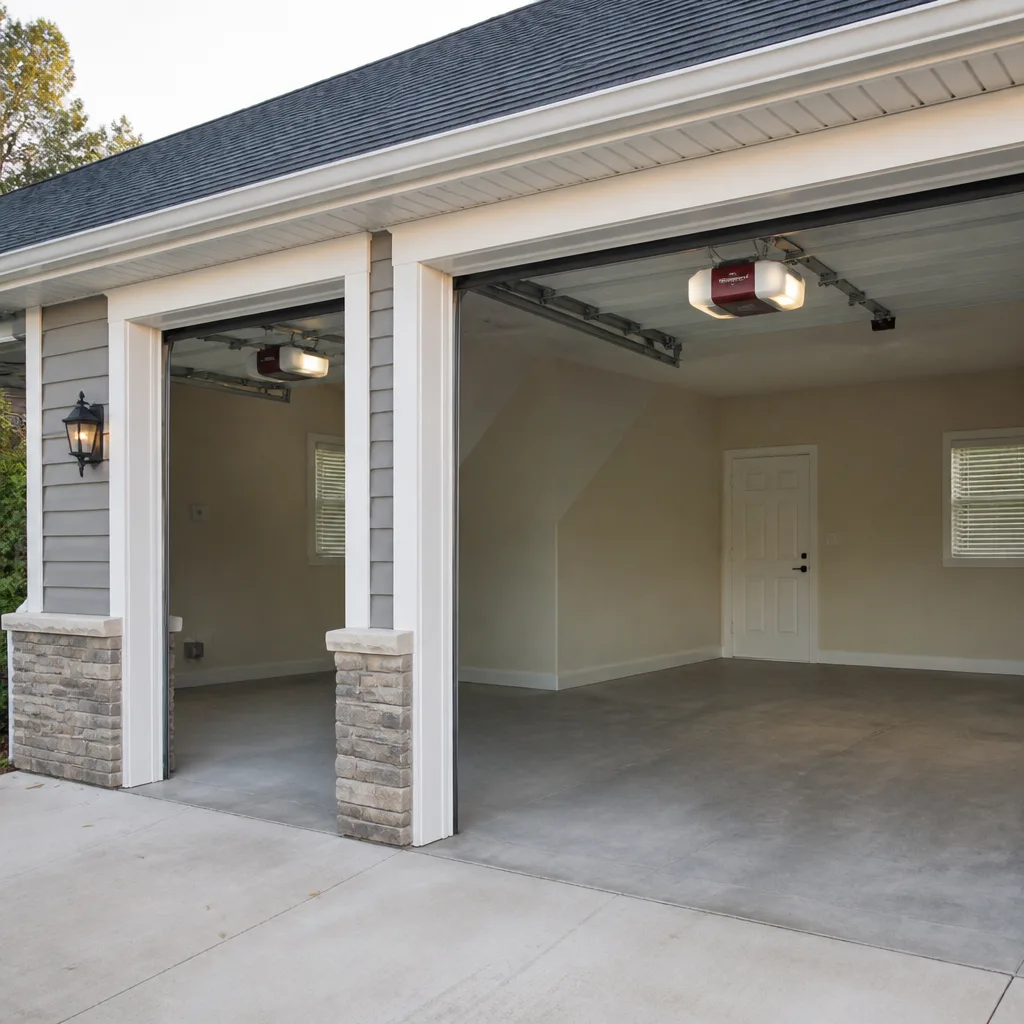 LiftMaster openers
 Chamberlain openers
Full 25-point door and opener safety check with every visit - springs, cables, rollers, tracks, and your LiftMaster or Chamberlain opener included
You get a price before we start. It does not change when the pro arrives.
Get your free estimateGarage Door Repair Maintenance Checklist for Marlborough Homeowners
The call that jolts a homeowner awake usually isn’t the spring snapping. It’s the roller that seized three winters ago because nobody thought to lubricate it, and now the opener is grinding its gear set to dust trying to force a door that can’t roll. The dramatic failure gets all the attention; the quiet one does the damage. This guide works backward from the failures we see most often in Marlborough and maps each one to the maintenance task that prevents it. You’ll learn what to check, when to check it, which jobs you can safely handle yourself, and which findings mean the door shouldn’t move again until a technician sees it.
Quick Answer
A garage door maintenance checklist for Marlborough homeowners should cover lubrication of rollers, hinges and springs, a monthly balance test, weatherstripping inspection before each winter, and a visual check of cables and hardware. Most tasks take 15 to 20 minutes and are safe to do yourself. Anything involving torsion springs, cables under tension, or a door that won’t stay balanced requires a trained technician.
Styles & brands we work with
- Raised-panel steel
- Carriage house
- Modern flush
- Full-view glass
- LiftMaster openers
- Chamberlain openers
Table of Contents
- Why a Checklist Built Backward From Failures Works Better
- The Monthly Five-Minute Check
- How to Run a Balance Test (and What the Result Tells You)
- Lubrication: The Task That Prevents the Most Expensive Repairs
- Seasonal Timing for Marlborough’s Climate
- Weatherstripping and the New England Freeze-Thaw Cycle
- Red Flags That Mean Stop Using the Door
- What You Can Safely Do vs. What Needs a Technician
Why a Checklist Built Backward From Failures Works Better
Most maintenance checklists are written forward: here’s a door, here’s a list of parts, go look at them. That approach fails because it doesn’t tell you why any of it matters, so the tasks get skipped the moment life gets busy. We built this one the other way around. We started with the repair calls that come in most often in Marlborough and asked what maintenance lapse allowed each one to happen.
The pattern is consistent. A snapped torsion spring usually announces itself weeks in advance with a door that won’t stay balanced. A burned-out opener motor is often the end of a long decline that started with stiff, dry rollers. A door that jams crooked in the tracks usually traces back to a loose hinge or a bent roller that nobody caught. The repair is the expensive event; the maintenance task that prevents it takes minutes.
Marlborough’s climate makes this especially relevant. Winters here swing between freezing nights and mild afternoons, and that freeze-thaw rhythm works on every seal, every lubricated joint and every piece of hardware on your door. A door that would coast through a decade in a stable climate gets tested every single winter here. Maintenance isn’t optional polish in this part of Massachusetts – it’s what keeps the door functional through the season that punishes it most.
Here’s what this guide does differently: every task below names the specific failure it prevents. When you understand that lubricating rollers isn’t busywork but the thing standing between you and a dead opener, you’ll actually do it.
The Monthly Five-Minute Check
Once a month, walk out to the door and run through these five checks. The whole sequence takes about five minutes and catches most problems while they’re still cheap to fix.
- Listen to the door. Run it up and down once. Grinding, squealing or a rhythmic thumping means a mechanical problem – usually dry rollers, a worn hinge, or a failing bearing. Quiet operation is the goal.
- Look at the rollers. Each roller should spin freely in its stem. A roller that’s stiff, flat-spotted or visibly worn is dragging, and a dragging roller loads the opener motor on every cycle.
- Check the hinges and the track. Hinges should be tight with no wobble. Run a hand along the inside of each vertical and horizontal track – you’re feeling for dents, debris or a bend that will catch a roller.
- Test the safety reverse. With the door open, lay a roll of paper towels or a 2×4 flat on the ground in the door’s path and close it. The door should reverse on contact. If it doesn’t, stop and get it looked at – this is a safety device, not a convenience.
- Eyeball the cables and springs. Look, don’t touch. Cables should be taut and running cleanly on their drums. A torsion spring should be one continuous coil with no visible gap; an extension spring should show no stretched, gaping coils. A visible gap in a torsion spring means it’s broken.
Anything you find here that isn’t a simple lubrication fix is worth a closer look. Our garage door repair work starts with exactly this kind of inspection, and it’s how small findings stay small.
How to Run a Balance Test (and What the Result Tells You)
The balance test is the single most useful diagnostic a homeowner can run, because it tells you the health of the springs – the part of the system you can’t safely inspect by hand. Do it once a month, and always after a stretch of extreme cold.
How to run it:
- Disconnect the opener by pulling the manual release handle (usually a red cord) so the door moves freely by hand.
- Raise the door to about halfway and let go.
- Watch what it does.
What the result means:
- Stays put where you left it: the springs are properly tensioned and the door is balanced. This is what you want.
- Drifts or slides down on its own: the springs have lost tension and are no longer carrying the door’s weight. Every cycle now asks the opener to do work the springs should be doing, which is how opener motors die early.
- Creeps upward on its own: the springs are over-tensioned, which stresses the cables, drums and the door’s frame.
- Won’t stay up at all or slams down fast: a spring has likely failed. Stop using the door and call for garage door spring repair.
A door that moves in jerks or feels unusually heavy when you lift it also signals a spring problem, even if it balances. Reconnect the opener afterward by pulling the release again and running the door one full cycle to confirm it re-engages.
What the balance test cannot tell you is whether a spring is close to failing internally. That’s why the visual check in the monthly list matters, and why a spring that’s visibly worn or older should be assessed by a technician before it fails on its own schedule.
Lubrication: The Task That Prevents the Most Expensive Repairs
If you do one maintenance task on this whole checklist, make it lubrication. Dried-out rollers and hinges are, in our experience, the leading cause of preventable opener failure in Marlborough. The chain of events is simple and predictable: a roller dries out, it stops spinning freely, the door gets harder to lift, and the opener motor grinds away a little of its life on every single cycle until one day it doesn’t finish the job.
Lubricate these components with a white lithium grease or a silicone-based garage door lubricant:
- Rollers: a small amount on each roller’s stem and bearing, not on the roller surface itself. Use a spray with a straw nozzle to reach the stems.
- Hinges: one short spray at each hinge’s pivot points, top and bottom.
- Springs: a light coat on torsion springs reduces friction and coil wear. Never touch a spring that’s under tension beyond a light spray from a distance.
- Opener rail or chain: a light application on the rail or chain, following the manufacturer’s guidance for your opener. Chain-drive units from brands like LiftMaster and Chamberlain want a thin coat; belt-drive units generally need less.
Skip the track. The door’s rollers should do all the rolling; greasing the track collects grit and actually makes things worse. A dry, clean track is correct.
What lubrication prevents: seized rollers, worn hinge pivots, chain wear, and eventually the opener motor or logic board failures that follow from years of overload. If your opener is already straining or unresponsive, that’s a different job – see garage door opener repair.
Seasonal Timing for Marlborough’s Climate
Timing matters as much as content. In Marlborough, the freeze-thaw cycle between November and March is the harshest stretch your door will face, so the real work is preparing for it and then checking for damage after. Here’s how the year breaks down.
- Late fall (before the first hard freeze): the big lubrication pass. Lubricate every roller, hinge and spring, test the balance and the safety reverse, and inspect weatherstripping and the bottom seal. A door that’s stiff and dry going into winter will fight the cold for months.
- Midwinter: after any deep cold snap, run a balance test and look for frost or ice building up along the bottom seal or in the tracks. Ice in the track is a common cause of doors that jam crooked. De-ice the door’s path gently; never force a frozen door up with the opener.
- Early spring: the thaw inspection. Check weatherstripping and bottom seals for cracking and separation after winter, look for rust forming on hinges and springs, and re-lubricate anything that’s dried out.
- Summer: the lightest season, but a good time to check that the door isn’t heat-warped and that the opener’s safety sensors are aligned and clean. The Marlborough Garage Door Repair Pros work happens year-round, and summer is when we see doors that quietly drifted out of balance over the winter without anyone noticing.
The pattern is straightforward: prep hard in the fall, watch for ice trouble through winter, inspect for damage in spring, and keep an eye on things through summer. That rhythm fits Marlborough’s climate far better than any calendar-based schedule.
Weatherstripping and the New England Freeze-Thaw Cycle
Weatherstripping is the cheapest component on your door and the one that fails fastest here. The bottom seal and the side and top seals keep wind, rain, snow and cold out. Marlborough’s freeze-thaw rhythm opens up cracks in rubber and vinyl that a stable climate would leave alone for years. Water gets into a small crack, freezes, expands, and widens it. Repeat that a few dozen times a winter and the seal goes.
Inspect the weatherstripping during your seasonal checks:
- Bottom seal: look for cracking, brittleness, or a seal that’s compressed flat and no longer closing the gap under the door. Run a hand along the floor when the door is closed – you shouldn’t feel a draft.
- Side and top seals: check that the seal still touches the door along its whole length. Gaps at the corners are the first thing to go.
- Seal-to-floor contact: when the door is down, the bottom seal should make continuous contact with the floor. A gap lets in cold air and, in winter, meltwater that refreezes into ice at the threshold.
What a failing seal causes: drafts and heat loss, water intrusion that leads to a wet garage floor (and the ice that comes with it), and eventually a warped bottom section if water gets into the panel. It also lets small animals and debris in. A bottom seal replacement is one of the simplest, lowest-cost fixes on a garage door, and doing it before winter is a lot easier than dealing with a door frozen shut in January.
Red Flags That Mean Stop Using the Door
Some findings are routine. Others mean the door should not move again until a technician has seen it. Learn the difference, because pushing a failing door is how a small problem turns into a dangerous one.
Stop and call if you see or hear any of these:
- A visible gap in a torsion spring: the spring has broken. Do not run the door. The opener will try to lift a door with no spring support, and the result can be a bent door, a burned-out opener, or a cable failure.
- A cable that’s frayed, kinked or off its drum: cables are under extreme tension. A frayed cable can fail suddenly with enough force to cause serious injury. Leave it alone.
- The door comes down crooked or jams: a door that binds in the tracks can drop suddenly. Stop using it and don’t try to force it.
- A loud bang from the garage with no obvious cause: that’s usually a spring cracking. Don’t open the door to investigate; check from a safe distance with the door closed.
- The safety reverse fails: the door won’t reverse on contact with an object, or the sensors don’t work. That’s an injury risk. Get it repaired before anyone uses the door.
- Springs that look stretched, gaping or visibly worn: extension springs with separated coils, or torsion springs with visible wear, mean replace them on a planned basis rather than waiting for a failure.
There’s no good reason to test these situations yourself. Two components on a garage door – the springs and the cables – carry enough stored force to seriously injure someone, and neither can be safely handled without proper tools, training and respect for the tension. When you see a red flag, that’s the moment to stop and call.
What You Can Safely Do vs. What Needs a Technician
We’re not going to hedge here or pad this with liability warnings. Here’s the honest split, with the reasoning behind each.
Safe for a homeowner:
- Lubricating rollers, hinges and springs (light spray, from a safe distance).
- Running the balance test and the safety-reverse test.
- Cleaning the tracks and the safety sensors.
- Inspecting weatherstripping and replacing a bottom seal.
- Tightening a visibly loose hinge bolt (with the door down and the opener released).
- Visual inspection of cables, springs and hardware – looking, not touching.
Requires a technician:
- Anything involving torsion or extension springs. These store enough energy to cause serious injury. Adjusting or replacing them requires the right winding bars, a specific sequence, and training – not a general handyman’s toolkit. This is why we specialize in spring repair and treat it as a separate skill from running a screwdriver.
- Anything involving the cables. Cables are under tension and can fail violently. Never handle or adjust them.
- Spring replacement, in general. Even a “simple” spring swap is a job for trained hands.
- Opener motor, logic board, or gear failures. Diagnosing whether an opener needs a motor, a gear set or a logic board means testing drive systems and electronics – a job for someone fluent in the brand. We work on LiftMaster, Chamberlain, Genie, Craftsman and Raynor openers, so we know each one’s failure patterns.
- Track realignment and panel work. A bent track or a panel that needs to come off is a two-person mechanical job that can drop a door if done wrong.
The line isn’t about liability. It’s about stored energy. If a task means working on a component that holds the door’s full weight against gravity, it belongs to a technician.
Common Mistakes to Avoid
- Greasing the tracks. It seems logical – slippery tracks, smoother door – but grease on the track collects grit and debris and makes rollers bind. The rollers should roll; the track should stay dry and clean.
- Skipping winter prep because the door “still works.” A door that’s stiff in November works fine until the first deep freeze, and that’s when the jam happens. Do the lubrication pass before the cold, not after the door fails.
- Forcing a frozen or jammed door with the opener. Marlborough winters freeze the bottom seal to the floor and ice in the tracks. Forcing the door through that is how openers burn out and tracks bend. Clear the ice first; if the door still won’t move, stop.
- Ignoring a balance test that says “drifts down.” A door that won’t stay put is telling you the springs are tired. Waiting for it to fail means paying for spring repair plus whatever the opener destroys in the meantime.
- Replacing one spring when the pair should go together. Torsion springs come in matched pairs and wear at the same rate. Replacing one often leaves the door unbalanced. When one goes, plan to do the pair.
- Assuming a general handyman can handle springs or openers. Spring work needs the right tools and a specific sequence; opener work needs brand familiarity. A single-trade garage door specialist – not a generalist – is the right call for both.
- Putting off a failed safety reverse. It’s the one feature on the door whose job is protecting people from being struck. If it fails, get it fixed before another cycle.
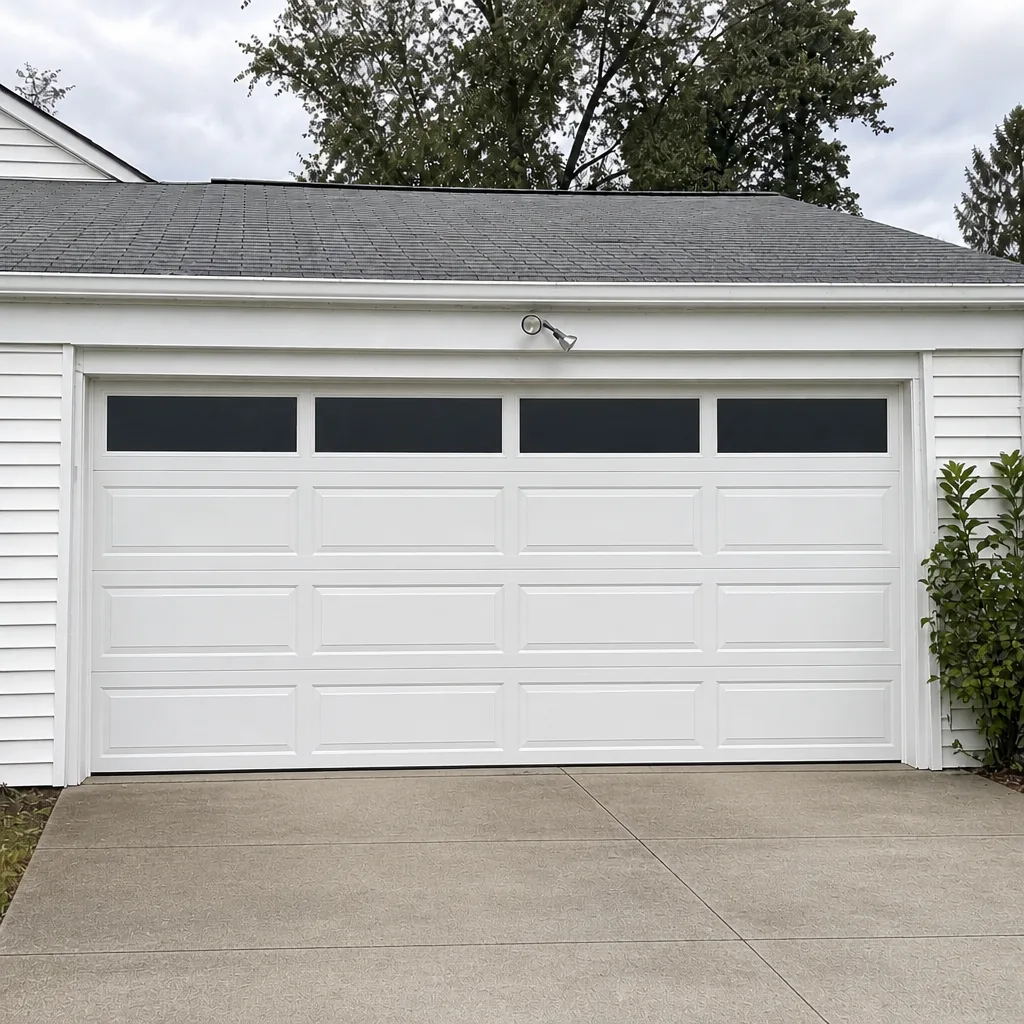
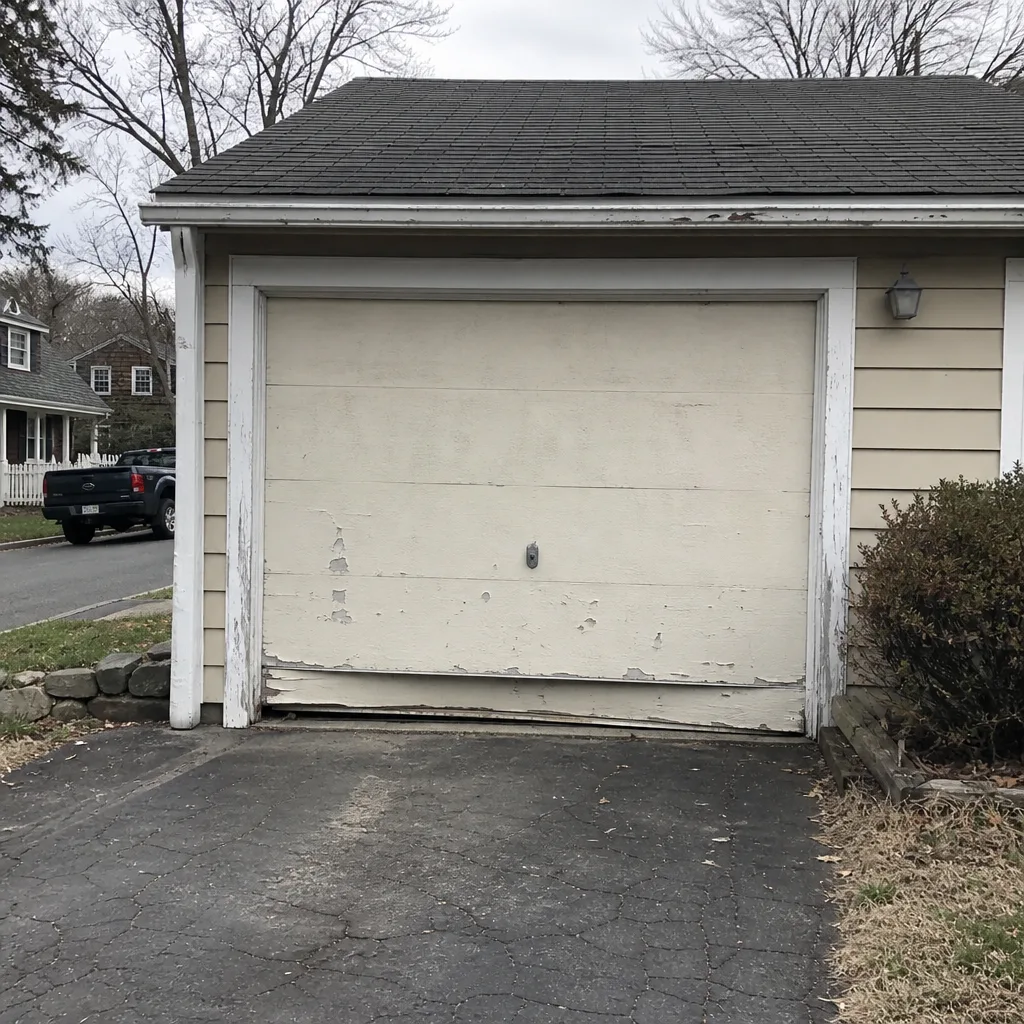
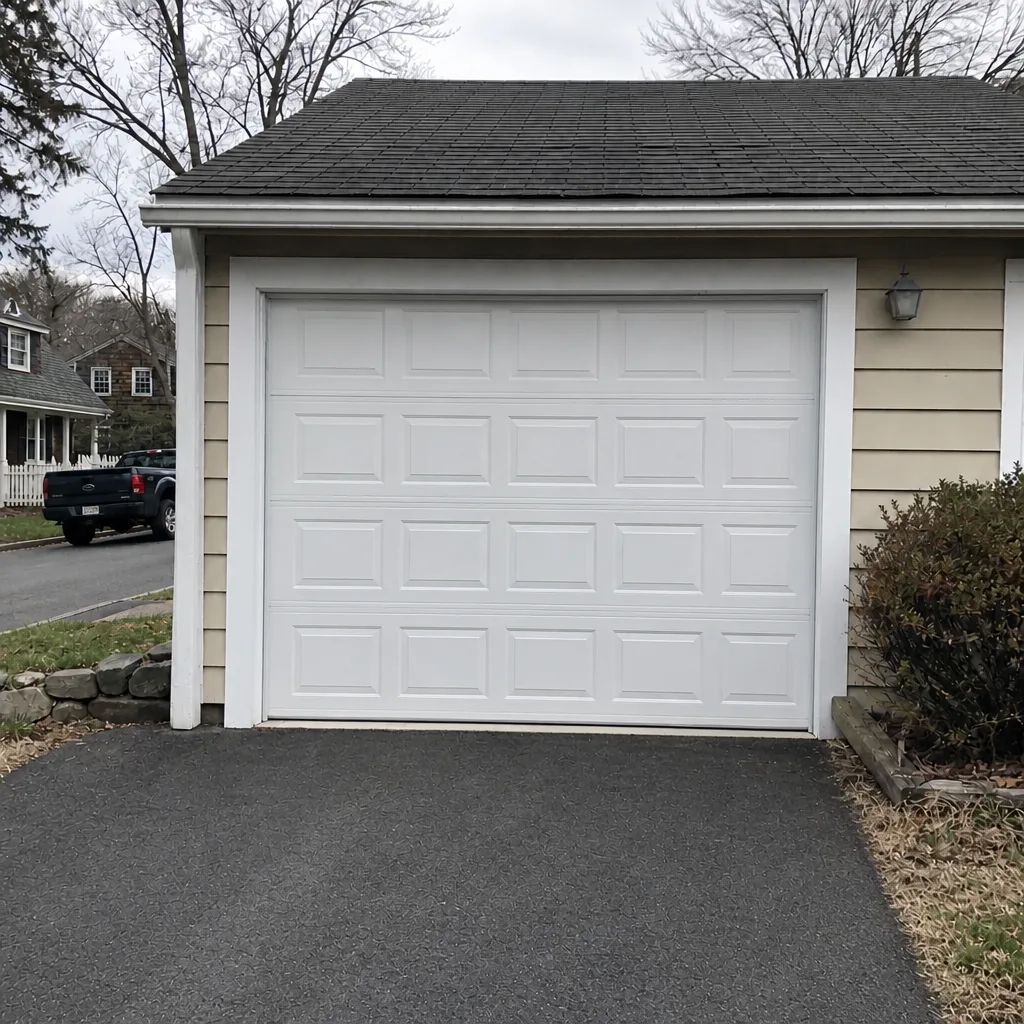
See the difference
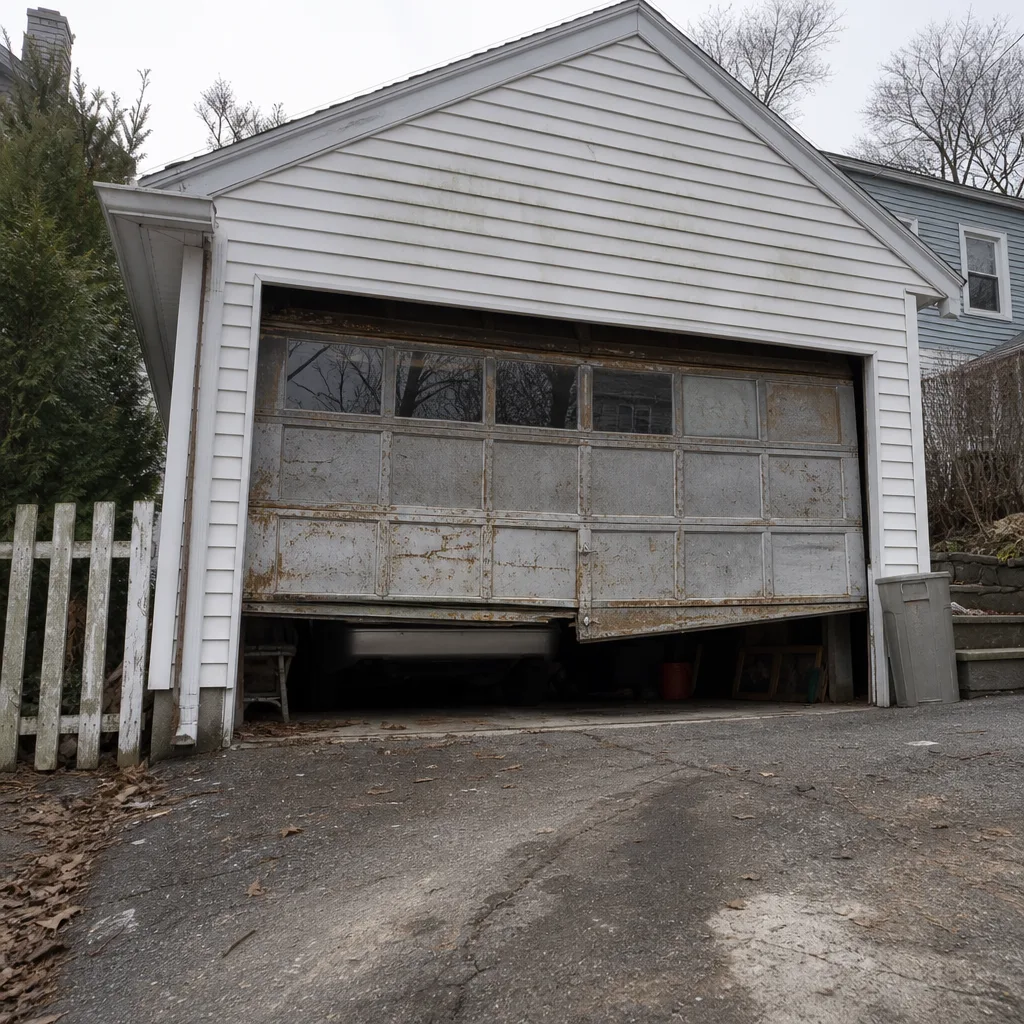 Before
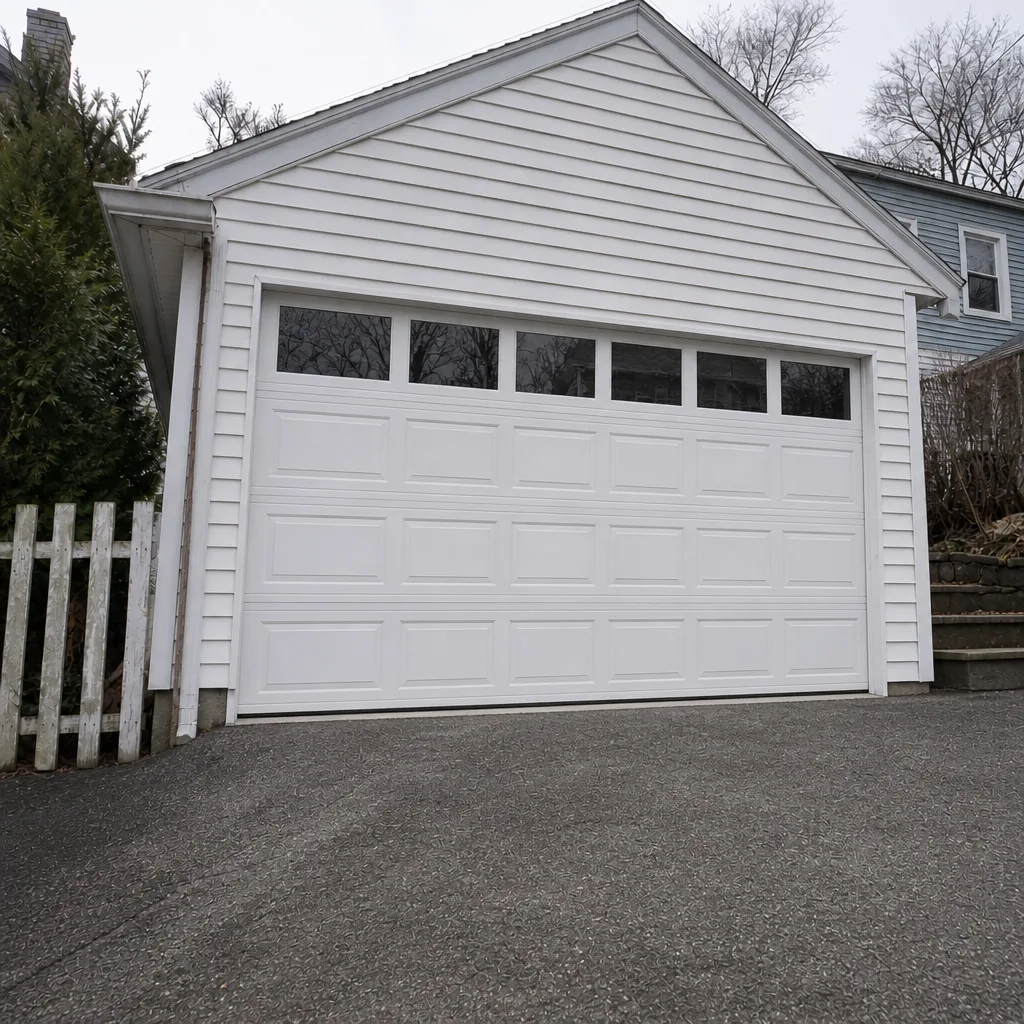 After
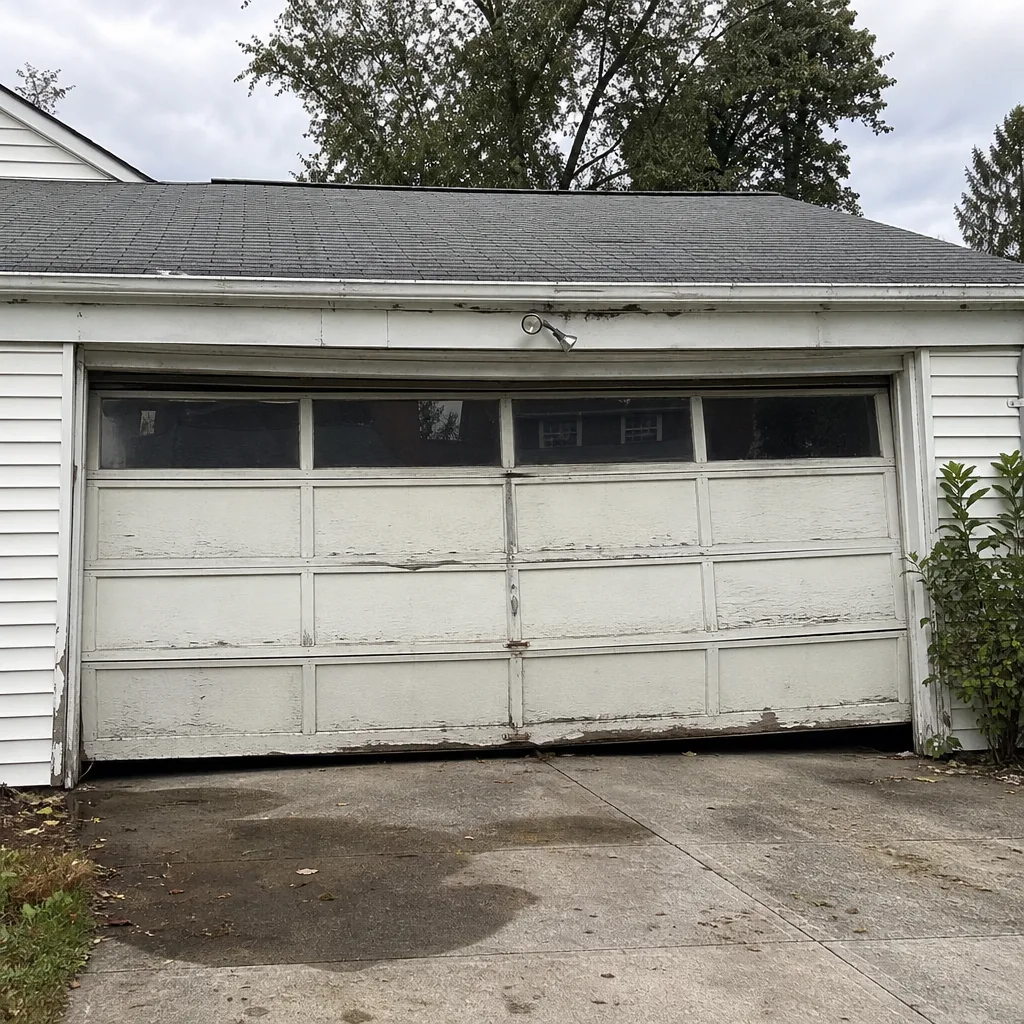 Before
 After
 Before
 After
When to Call a Professional
Call a professional when you hit any red flag in the section above, when the balance test says the springs are done, or whenever the work involves springs, cables, the opener’s internals, or a door that binds. Call us as well if you own a Raynor, LiftMaster, Chamberlain or Genie system and want someone who actually knows that equipment instead of a generalist guessing at it. We work on the brand you already own, and every technician on every call works on garage doors only – that focus is why our balance-test findings and spring repair are reliable. Marlborough Garage Door Repair Pros offers free estimates in Marlborough – call (866) 540-7611. We answer 24/7. Fast dispatch from 7am to 7pm, Sunday through Friday. Same-day service is often possible for urgent repairs, and you’ll get a written price before any work starts.
Frequently Asked Questions
Lubricate the rollers, hinges and springs at least twice a year in Marlborough – once in late fall before the first hard freeze, and once in early spring after the thaw. If your door runs frequently or sits exposed to weather, a third pass in midsummer helps. Lubrication is the single cheapest maintenance task and the one that prevents the most expensive repairs.
No. Torsion and extension springs store enough energy to cause serious injury, and replacing them requires specific tools, a precise winding sequence and training. This is the one task on the checklist that’s never a DIY job. Call (866) 540-7611 for spring repair instead – estimates are free.
It means the springs are losing tension and no longer balancing the door’s weight. The opener has to work harder on every cycle, which is how motors, gears and logic boards fail early. That’s a balance-test finding that should lead to a spring inspection rather than another month of hoping. A technician can confirm whether the springs need adjustment or replacement.
Use a white lithium grease or a silicone-based garage door lubricant on the rollers’ stems, hinges and springs. Avoid greasing the tracks – a dry, clean track is what you want, and grease there collects grit and makes rollers bind. Follow your opener manufacturer’s guidance for the rail or chain.
Replace it when you see cracking, brittleness, or a bottom seal that no longer makes continuous contact with the floor. In Marlborough, the freeze-thaw cycle widens small cracks fast, so check the weatherstripping in late fall and again after spring thaw. A failing seal lets in water that freezes and can damage the door.
Often, yes – same-day service is available for urgent repairs, and we answer 24/7 at (866) 540-7611. Fast dispatch runs from 7am to 7pm, Sunday through Friday, and a call outside dispatch hours is booked into the next opening, Sunday through Friday, 7am to 7pm. The price is quoted and agreed before any work starts.
The Bottom Line
A useful maintenance checklist doesn’t just list parts to inspect – it tells you what failure each task prevents. Lubrication keeps rollers from seizing and openers from dying. The monthly balance test tells you the health of your springs without touching them. Weatherstripping inspected before winter stops freeze-thaw damage in its tracks. And knowing the red flags means you stop the door before a small problem becomes a dangerous one. In Marlborough’s climate, all of it is worth doing. The tasks that are safe to do yourself take about 20 minutes; the ones that involve springs, cables or opener internals belong to a specialist. Done consistently, this checklist is the difference between a door that lasts and a stream of repair calls.
Written by the team at Marlborough Garage Door Repair Pros.